
The terminal is the developer’s home. What if you could bring a powerful, context-aware AI coding assistant right into that environment? That’s exactly what the open-source Gemini Command-Line Interface (CLI) tool offers.
This isn’t the Google Cloud SDK; this is a dedicated, project-aware AI agent that helps with coding, debugging, research, and general task automation directly from your command line.
This post will guide you through installing the Gemini CLI tool and highlight the significant productivity boost it offers.
Why Use the Stand-Alone Gemini CLI Tool?
The Gemini CLI is more than just a chat interface; it’s an AI agent that can take actions within your project. Here are its key advantages:
Project-Aware Automation: The CLI can read, write, and execute shell commands, enabling it to handle complex, multi-step tasks like “Refactor this function, run the tests, and stage the changes for commit.” It moves beyond just suggesting code to acting on it.
Deep Project Context: It can read any file in your current directory and use a massive one-million token context window (with Gemini 2.5 Pro) to understand your entire codebase, not just isolated snippets.
Direct Filesystem Access: Unlike most web-based AI assistants, Gemini CLI can directly interact with your local files—reading, writing, and modifying code using tools like read_file, write_file, and grep.
Free and High-Limit Access: For individual developers, signing in with your personal Google account provides a generous free tier (up to 60 requests per minute and 1,000 requests per day) to one of the most powerful AI models.
Extensible with Tools: It supports the Model Context Protocol (MCP), allowing you to add custom tools and extensions to integrate with services like GitHub, databases, or even an internal knowledge base.
🛠️ Installing the Gemini CLI Tool
The Gemini CLI tool is built using Node.js, so you’ll need Node.js installed on your workstation (version 18 or higher is a prerequisite).
Step 1: Check Node.js Prerequisite
Open your terminal and check your Node.js version. If you don’t have it, you can download it from the official website: Node.js Official Website
Bash
node -v
Step 2: Install the Gemini CLI
You have two main options for installation using the Node Package Manager (npm):
Global Installation (Recommended for Regular Use): This installs the gemini command globally so you can run it from any directory.
npm install -g @google/gemini-cli

Alternatively, on macOS/Linux, you can use Homebrew:
brew install gemini-cli
Run Instantly (No Permanent Installation): Use npx to execute the latest version directly without a global install. This is great for testing or occasional use.
npx https://github.com/google-gemini/gemini-cli
Step 3: First-Time Setup and Authentication
After installation, simply type gemini to launch the interactive interface:
gemini

The CLI will walk you through two simple steps:
Select a Theme: Choose your preferred color theme.
Authenticate: It will prompt you to log in with your personal Google Account. This automatically grants you the free license to use the powerful features. Follow the on-screen instructions, which will open a browser window for a secure OAuth sign-in.
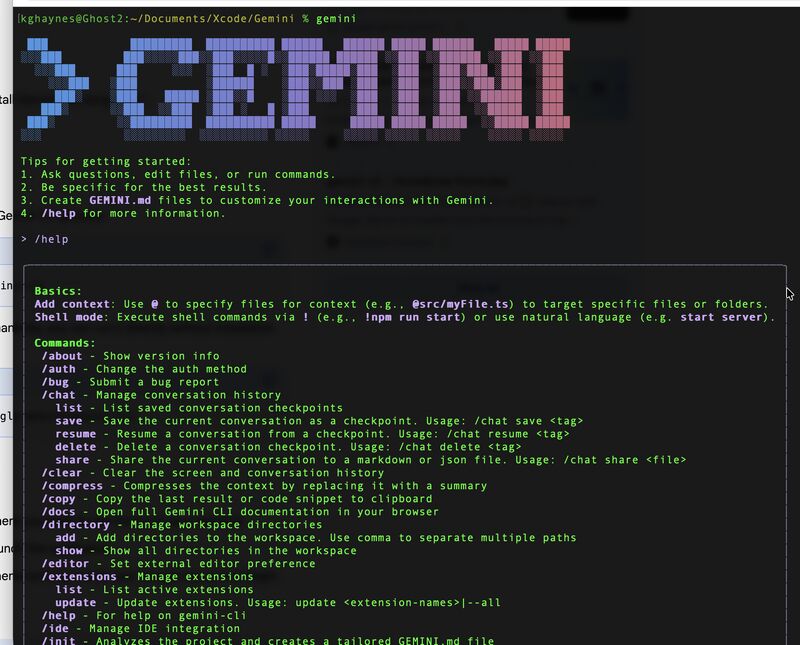
Once authenticated, you’ll see the prompt and can immediately start asking it questions or assigning tasks!
Basic Usage and Key Commands
The Gemini CLI operates conversationally. You simply type your request.
Ask a Question:
Explain the main components of this codebase.Run a Shell Command (using !):
! npm test
Reference a File: Use the @ symbol to reference a file in your current project directory, making it part of the context.
@README.md Write a five-sentence summary of this file.Quit:
/quit
The Gemini CLI tool transforms your terminal from a passive command center into an active, intelligent partner. By installing it today, you’ll be well on your way to automating complex tasks and boosting your development workflow.
You can learn more about the installation and usage of the Gemini CLI by watching this video: Gemini CLI – How to Install, Setup and Use Tutorial. The linked video provides a visual, step-by-step walkthrough of the installation and setup process for the Gemini CLI tool.
Leave a Reply